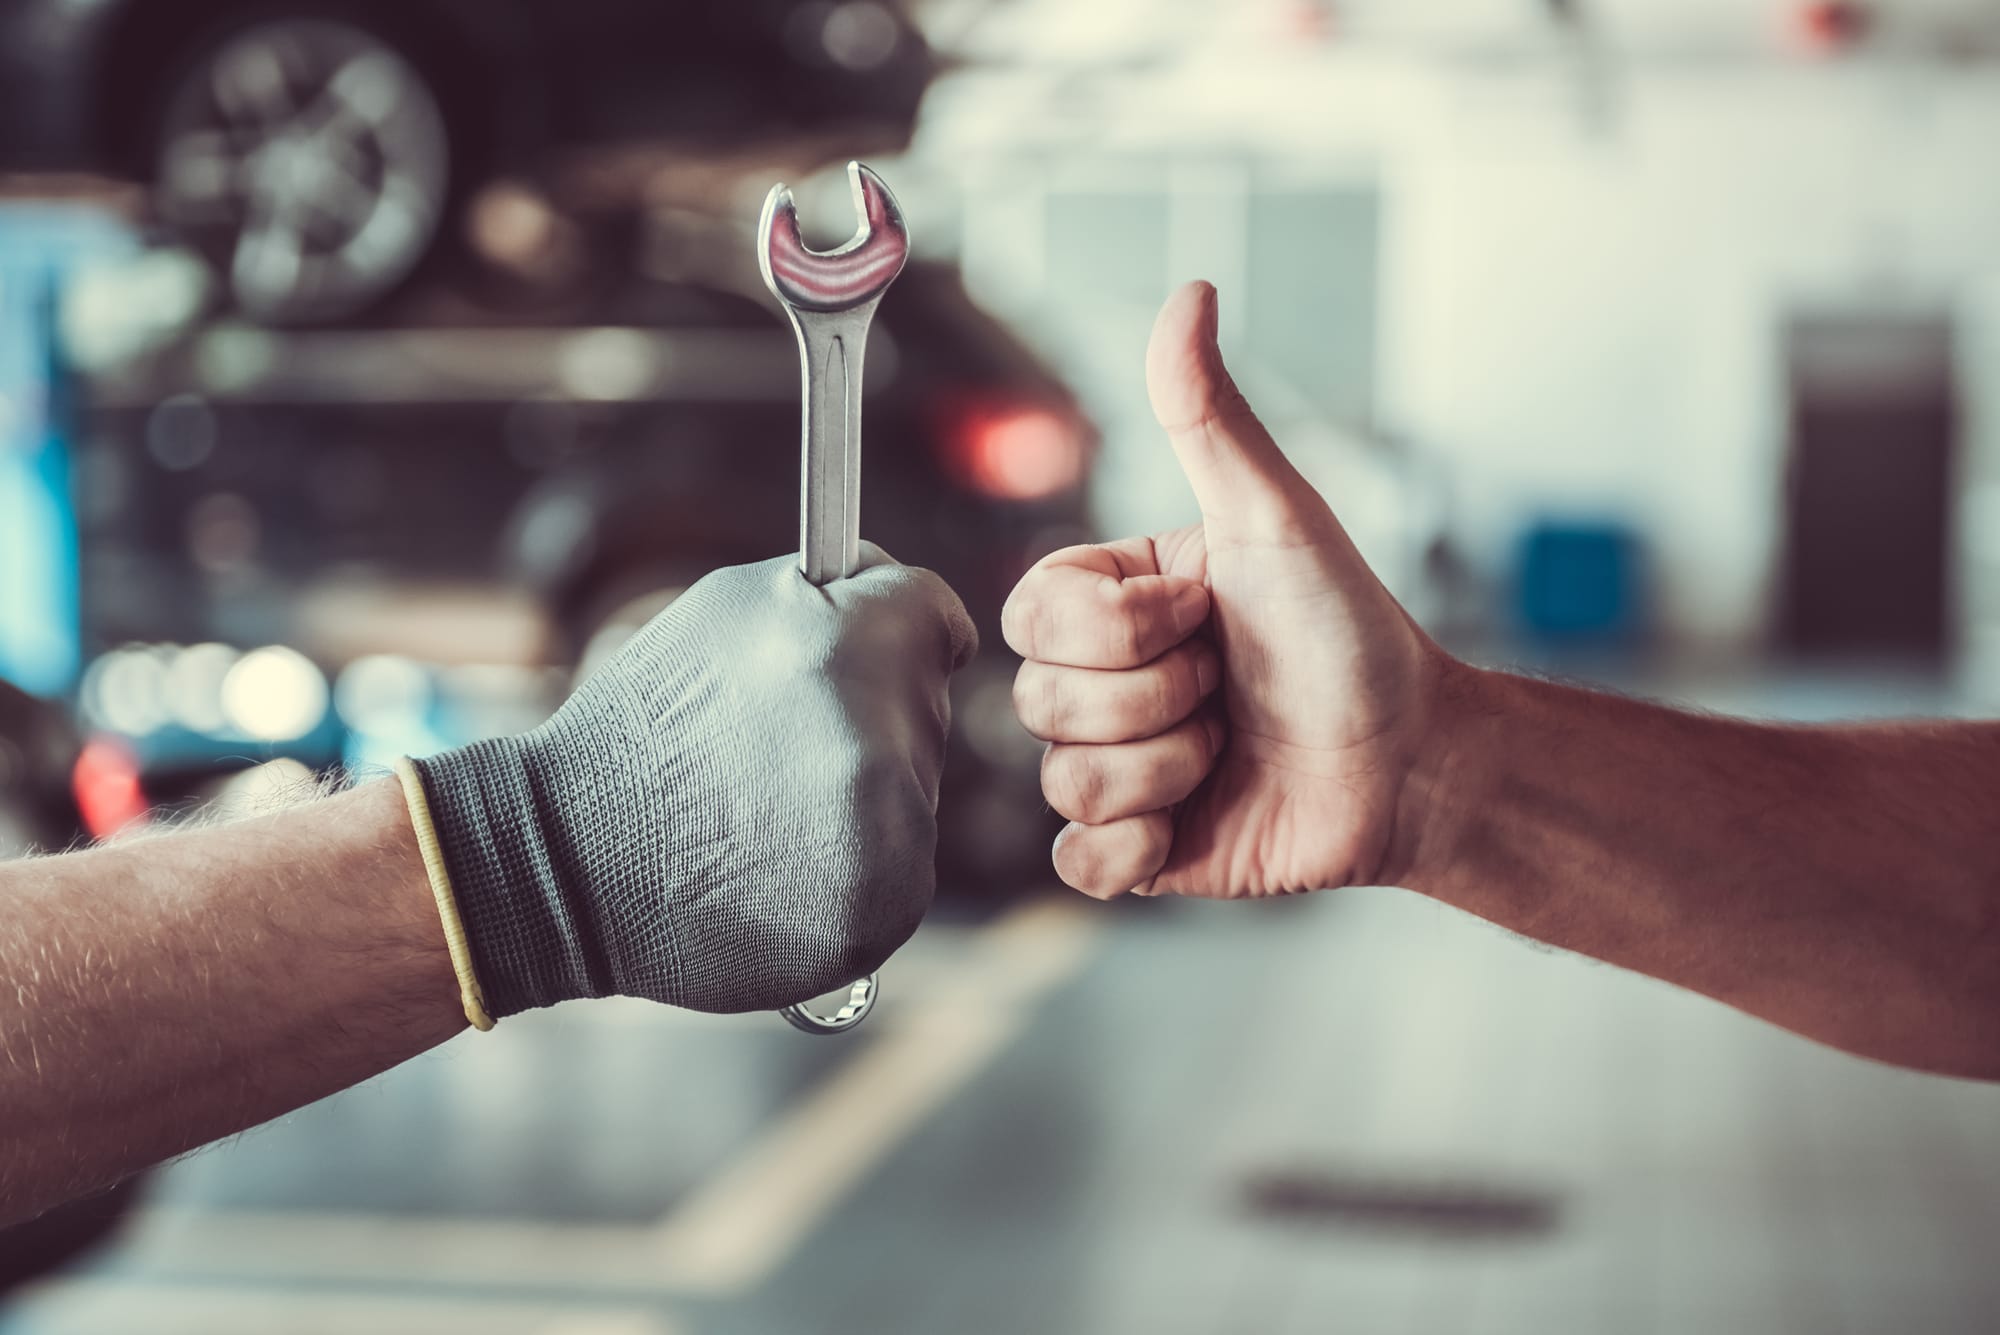
Steps To Start Your Own Car Check-Up

🛠️ Steps to Start Your Own Car Check-Up
Step 1: Prepare Your Tools & Safety Gear
- Park the car on a flat surface.
- Turn off the engine and let it cool.
- Gather gloves, flashlight, paper towels, tire pressure gauge, and the owner’s manual.
Step 2: Check Fluids
- Engine Oil: Pull out the dipstick, wipe, reinsert, and check the oil level and color.
- Coolant: Open the reservoir cap (when engine is cool) and check fluid level against the “min/max” marks.
- Brake Fluid: Check fluid level in the reservoir; it should be between the marks.
- Windshield Washer Fluid: Fill if low.
Step 3: Inspect Tires
- Use a tire pressure gauge to check pressure matches the recommended PSI in your owner’s manual or on the door frame sticker.
- Look for uneven wear, cracks, or bulges.
- Check tread depth using a penny (if Lincoln’s head is visible, tread is too low).
Step 4: Test Lights & Signals
- Turn on headlights, high beams, brake lights, hazard lights, and turn signals.
- Ask someone to help or use a wall/mirror to confirm they all work.
Step 5: Inspect the Battery
- Check for corrosion on battery terminals.
- Make sure connections are tight.
- If you have a multimeter, test the voltage (should be around 12.6 volts when off).
Step 6: Look Under the Hood & Around the Car
- Check for leaks (oil, coolant, transmission fluid).
- Listen for unusual sounds while engine is idling.
- Inspect belts and hoses for cracks or wear.
Step 7: Test Brakes
- With the engine running, press the brake pedal. It should feel firm, not spongy.
- Listen for squeaks or grinding when braking during a short drive.
Step 8: Record & Plan
- Write down what you checked and any issues noticed.
- Small issues (like low washer fluid) can be fixed right away.
- Bigger concerns (like brake noise, leaks, or worn tires) should be scheduled with a mechanic.
✅ Tip: Doing this once a month helps catch small problems early and saves money in the long run.